
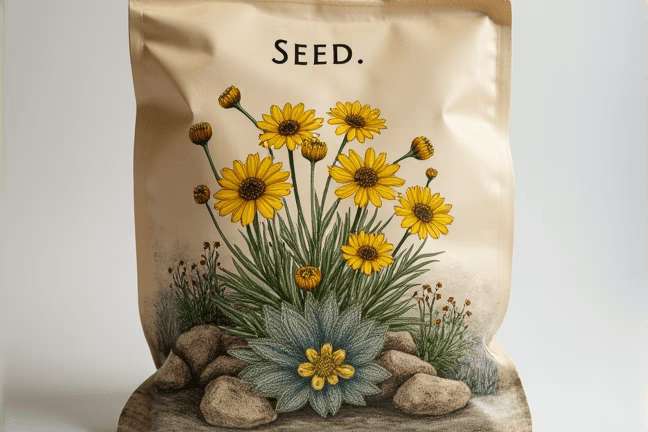
Alpine Hulsea
Hulsea algida
Grow Time
90-120 days
Sunlight
Full Sun
Watering
Every 5-7 days
Toxicity
Non-toxic
How to plant Alpine Hulsea: Step-by-Step Guide
Growing Guide
Preparation
What you'll need:

Alpine Hulsea seeds (these might be a bit harder to find, so check with specialized nurseries or online seed catalogs)

A pot or small garden patch with good drainage

Well-draining soil mix (you can buy cactus or succulent soil, or make your own by mixing regular soil with sand)
- Small rocks or gravel (optional, for better drainage and decoration)
When to start:
Alpine Hulsea is native to high-altitude regions, meaning it prefers cooler temperatures. If you live in a colder climate, early spring is perfect. In warmer areas, consider planting in late fall or early winter when the weather is cooler.
Choosing the right spot:
This plant loves sunlight but also needs some protection from harsh afternoon sun, especially in warmer climates. Find a spot that gets morning sun and light shade in the afternoon. If planting in pots, a sunny windowsill or balcony should work well.
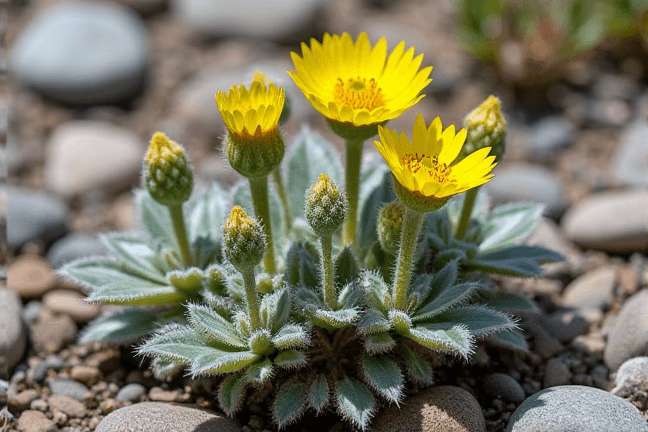
Tip: Alpine Hulsea thrives in rocky, well-drained soils, mimicking its natural alpine habitat. So don’t be afraid to add extra gravel or small stones to your soil mix!
Planting
If you’re starting with seeds:
- Fill a small pot or seed tray with your well-draining soil mix.
- Sprinkle the Alpine Hulsea seeds on top of the soil—don't bury them too deep; they need light to germinate.
- Lightly press the seeds into the soil surface (just enough so they make contact with the soil).
- Water gently using a spray bottle to avoid washing the seeds away.
- Place the pot in a cool, bright location, like a north-facing windowsill or an unheated greenhouse.
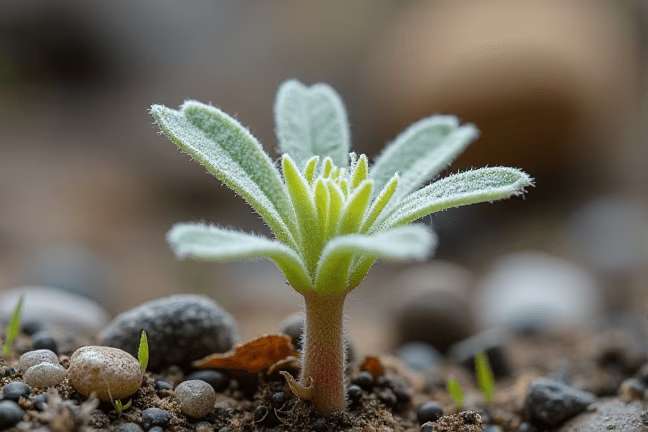
- Keep the soil slightly moist but not soggy. Germination can take a few weeks, so be patient!
If transplanting seedlings:
- Dig a hole in your prepared soil that’s just big enough for the root ball.
- Gently place the seedling into the hole, ensuring the top of the root ball is level with the surrounding soil.
- Backfill with soil, pressing lightly around the base to secure the plant.
- Water lightly after planting.
Pro Tip: Since Alpine Hulsea is used to growing in rocky conditions, consider adding a thin layer of small gravel on top of the soil after planting to mimic its natural environment.
Growing Care
Watering:
- Alpine Hulsea doesn’t like to sit in wet soil, so water sparingly. Let the top inch of soil dry out before watering again.
- When you do water, give it a good soak but make sure the excess water drains away quickly.
Sunlight:
- This plant enjoys plenty of light but may struggle in intense, direct afternoon sun, especially in warmer climates. Morning sun with light shade in the afternoon is ideal.
- If you notice the leaves looking a bit scorched, it might be getting too much direct sunlight.
Temperature:
- Alpine Hulsea likes cool temperatures, similar to those found in mountainous regions. If you live in a warm area, try to keep it in a cooler part of your garden or home.
- Avoid exposing it to extreme heat or frost.
Fertilizing:
- You don’t need to fertilize Alpine Hulsea very often. Once or twice during the growing season (spring and early summer), you can use a diluted liquid fertilizer if you feel the plant needs a boost—but be careful not to overdo it!
Troubleshooting:
- Yellowing leaves: This could mean the plant is getting too much water. Cut back on watering and ensure the soil is drying out between waterings.
- Leggy growth: If your plant is stretching toward the light, it may need more sunlight. Consider moving it to a brighter spot.
- Wilting: Check if the soil is too dry. Even though this plant likes dry conditions, it still needs occasional watering.
Harvesting
Alpine Hulsea is primarily grown for its beautiful yellow flowers rather than edible parts, so there isn’t a traditional “harvest” process. However, if you’re growing it for seeds or cuttings:
Collecting Seeds:
- After the flowers have bloomed and faded, they will form small seed pods.
- Wait until the pods are dry and brown before collecting them.
- Store seeds in a cool, dry place if you plan to grow more Alpine Hulsea next season.
Cut Flowers:
- If you want to use the flowers for arrangements, cut them early in the morning when they’re fresh.
- Place them immediately in water to keep them looking vibrant for longer.
End-of-season care:
- Once the plant has finished flowering, you can trim back any dead or dying stems to keep it tidy.
- In colder climates, Alpine Hulsea may die back naturally with frost, but it should regrow in the spring if the roots are protected.
Plant Care FAQ
Q: Can I grow Alpine Hulsea indoors?
A: Yes, you can! Just make sure it gets plenty of light, preferably from a south-facing window. Supplemental grow lights can help if natural light is limited.
Q: How often should I water my Alpine Hulsea?
A: Only water when the top inch of soil feels dry. Remember, this plant likes to stay on the drier side, so it's better to underwater than overwater.
Q: Why are my Alpine Hulsea’s leaves turning brown at the edges?
A: This could be due to either too much direct sunlight or inconsistent watering. Try providing some light shade during the hottest part of the day and maintain a consistent watering schedule.
Q: Will Alpine Hulsea survive frost?
A: While it can tolerate light frosts, prolonged exposure to freezing temperatures may damage the plant. If you expect a hard freeze, consider covering the plant or bringing potted plants indoors temporarily.
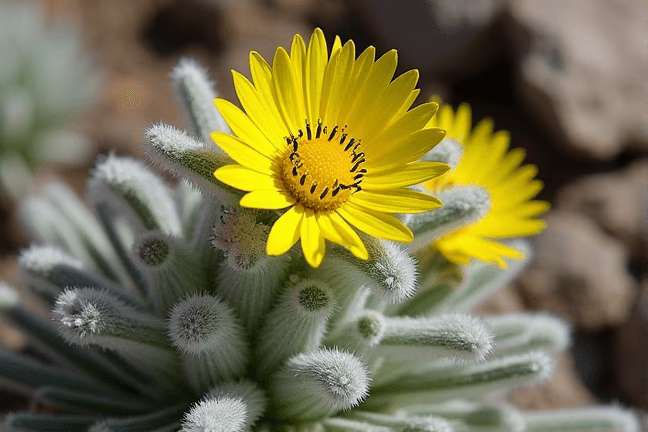
Q: Does Alpine Hulsea attract pollinators?
A: Absolutely! Its bright yellow flowers are great for attracting bees and other beneficial insects, making it a lovely addition to a pollinator-friendly garden.
Pro Tips
1. Rock Garden Companion
Alpine Hulsea looks fantastic in rock gardens or alongside other alpine plants like sedums and saxifrages. The combination creates a natural, rugged look.2. Mulch with Gravel
Instead of organic mulch, use fine gravel or crushed stone around your Alpine Hulsea. It helps retain moisture while keeping the roots cool and preventing rot.3. Winter Protection
If you live in an area with harsh winters, cover the base of the plant with a layer of pine needles or straw to protect the roots from freezing temperatures.4. Limit Fertilizer
Too much fertilizer can cause leggy growth and fewer flowers. Stick to one light feeding per year, if at all.5. Seed Stratification
To improve germination rates, you can stratify Alpine Hulsea seeds by placing them in the fridge for a few weeks before sowing. This mimics the cold conditions they experience in the wild.6. Watch for Pests
Though generally pest-free, watch out for aphids or spider mites, especially if growing indoors. A quick spray with water or insecticidal soap should take care of them.7. Group Planting
Plant Alpine Hulsea in clusters for a more dramatic display of its bright yellow blooms. It also makes it easier for pollinators to find them!