
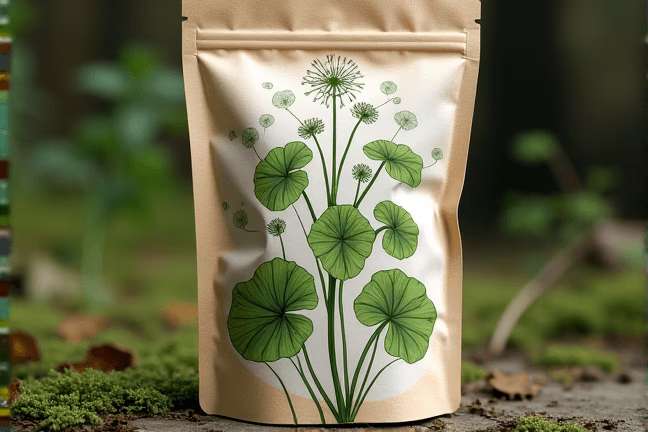
Butterbur
Petasites hybridus
Grow Time
90-120 days
Sunlight
Partial Shade to Full Shade
Watering
Every 3-5 days
Toxicity
Conditionally toxic
How to plant Butterbur: Step-by-Step Guide
Growing Guide
Preparation
What you'll need:

Butterbur seeds or young plants (sometimes called "root divisions" if buying from a nursery)

A large patch of garden space or a big pot (at least 24 inches wide and deep)

Rich, moist soil – if your soil is dry or sandy, mix in some compost to help it hold water

Mulch (such as straw or bark chips)
When to start:
Butterbur likes cool weather, so spring or fall is the best time to plant. If you're planting seeds, they’ll take some time to sprout, so don’t get discouraged if nothing happens right away.
Finding a good spot:
Butterbur loves shade or partial shade, so pick a spot that doesn’t get too much direct sunlight. It can survive in full sun but will need more water. Also, keep in mind that butterbur spreads fast, so give it plenty of room to grow. If you’re worried about it spreading too much, you can plant it in a large container buried in the ground to keep it contained.
Quick tip: Butterbur likes its soil consistently damp, so areas near ponds, streams, or low spots in the yard are perfect.
Planting
If using seeds:
- Fill a small pot with moist soil and sprinkle the seeds on top.
- Gently press them into the soil but don’t bury them too deeply – just a light covering of soil is enough.
- Keep the soil consistently moist (like a damp sponge) and place the pot in a shaded area.
- Seeds can take several weeks to germinate, so patience is key!
If using root divisions or young plants:
- Dig a hole that’s wide and deep enough for the roots to spread out comfortably.
- Place the plant in the hole and cover the roots with soil, gently firming it down around the base.
- Water generously after planting to help settle the soil around the roots.
- Mulch around the base of the plant to keep the soil moist and cool.
Plant spacing:
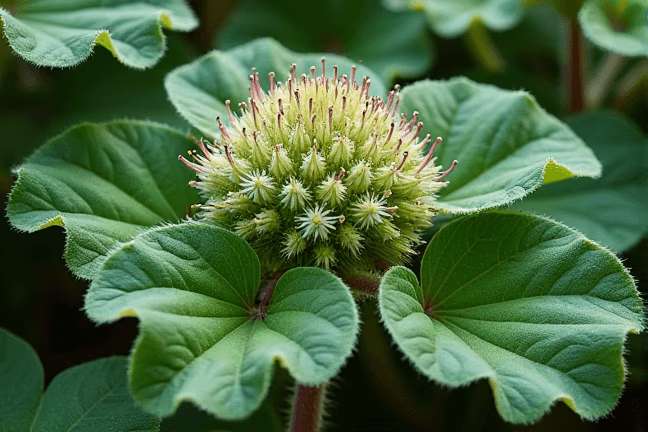
- Space plants at least 3 feet apart because butterbur grows BIG! The leaves alone can reach up to 3 feet wide, so give it plenty of room to thrive.
Growing Care
Watering:
- Butterbur LOVES moisture. Check the soil regularly, and if the top inch feels dry, it's time to water.
- During hot or dry spells, you may need to water daily. Aim to keep the soil consistently damp, especially during the first growing season while the plant establishes itself.
Feeding:
- In early spring, sprinkle some general-purpose fertilizer around the base of the plant and water it in.
- You can also add a layer of compost every few months to keep the soil rich.
Mulching:
- Reapply mulch every few months to help retain moisture and prevent weeds. This is especially important in the summer when the soil can dry out quickly.
Pruning/Trimming:
- Remove any dead or damaged leaves throughout the growing season to keep the plant looking tidy.
- In late fall, after the plant has died back, cut the stems down to the ground to prepare for new growth in the spring.
Important Reminder: Butterbur spreads through underground rhizomes, which means it can take over your garden if not managed. Regularly check the edges of your planting area to make sure it isn’t creeping where you don’t want it.
Harvesting
When to harvest:
- Butterbur leaves can be harvested anytime during the growing season once the plant is established (usually after the first year).
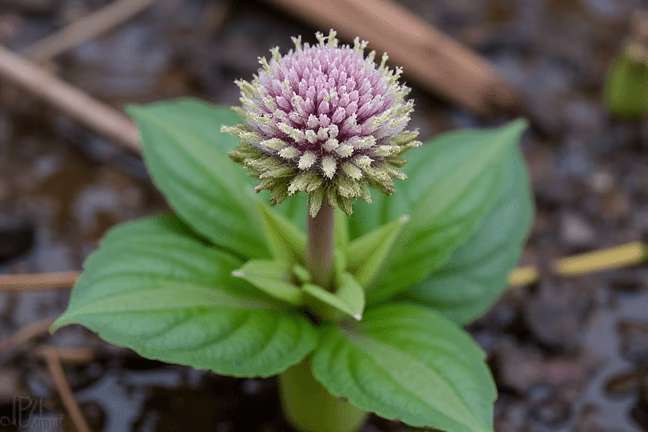
- The flower stalks appear in early spring before the leaves fully develop, so that’s the time to harvest them if you want flowers.
How to harvest:
- Use clean scissors or pruning shears to cut off mature leaves at the base of the stem.
- If harvesting flower stalks, cut them off close to the ground as soon as they appear.
After harvesting:
- Leaves and flowers should be dried if you’re planning to use them for herbal remedies. Spread them out in a cool, dry place away from direct sunlight.
- Fresh leaves can also be used for decorative purposes or added to bouquets.
Caution: Always wear gloves when handling butterbur, as some people can have skin reactions to the plant sap.
Plant Care FAQ
Q: Is butterbur invasive? How do I control it?
A: Yes, butterbur can be quite invasive due to its spreading rhizomes. To control it:
- Plant it in a large container sunk into the ground to limit root spread.
- Regularly dig up unwanted shoots that pop up outside the designated area.
- Be diligent in removing rhizomes from the soil if you need to relocate or remove the plant.
Q: Why are my butterbur leaves turning yellow?
A: Yellowing leaves usually indicate either too much sun or underwatering. Make sure your plant is getting enough shade and that the soil stays consistently moist. Adjust watering accordingly.
Q: Can I grow butterbur indoors?
A: It’s not recommended, as butterbur needs a lot of space and prefers outdoor conditions. However, you could try growing it in a very large container placed near a bright window with indirect light, but it won’t thrive like it would outdoors.
Q: Are all parts of butterbur safe to use?
A: Not exactly. Some parts of butterbur contain toxic compounds called pyrrolizidine alkaloids (PAs), which can harm the liver. Always consult an expert before using butterbur for medicinal purposes, and only use processed products that are labeled "PA-free."
Q: My butterbur isn’t flowering. What’s wrong?
A: Butterbur might not flower in its first year as it focuses on establishing roots. Ensure it’s getting enough moisture and nutrients, and give it another season to mature.
Pro Tips
1. Choose the right spot
Since butterbur thrives in wet areas, consider planting it near a pond, stream, or rain garden to reduce maintenance.2. Divide to multiply
Every few years, you can dig up the plant and divide the rhizomes to create new plants. This helps manage its size and gives you more butterbur for your garden.3. Watch for pests
Slugs and snails love butterbur’s large, juicy leaves. Set up beer traps or sprinkle diatomaceous earth around the base of the plant to keep them at bay.4. Companion planting
Butterbur pairs well with other moisture-loving plants like ferns or hostas, creating a lush, shaded corner in your garden.5. Drying tips
When drying butterbur leaves or flowers, ensure good airflow by placing them on a mesh rack rather than directly on a flat surface.6. Control spread naturally
Create natural barriers like rocks or edging around the plant to slow down rhizome expansion without chemicals.7. Wear gloves!
Always wear gloves when handling butterbur, even when pruning or harvesting, as its sap can irritate sensitive skin.