
Common Oat
Avena sativa
Grow Time
90-120 days
Sunlight
Full Sun
Watering
Every 7-10 days
Toxicity
Non-toxic
Video content from YouTube
Watch on YouTubeHow to plant Common Oat: Step-by-Step Guide
Growing Guide
Preparation
Getting Ready to Grow Oats
Oats are a fun and easy plant to grow, even for beginners. They're great for your garden because they can improve the soil while giving you something useful to harvest.
What You'll Need:

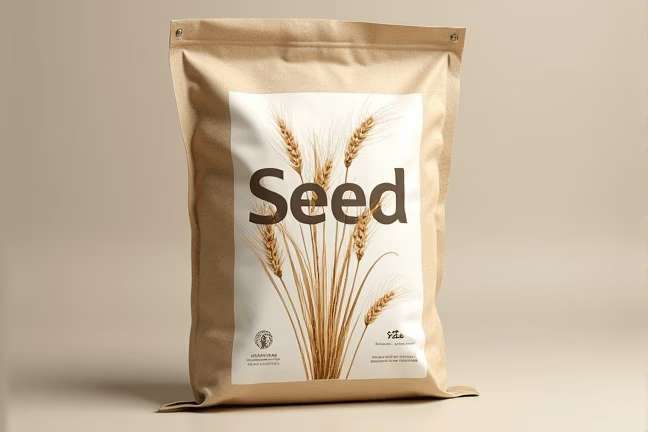
Oat seeds (you can find these at garden centers or online)

A patch of land or large pots (oats need space to spread out)

General garden soil

A rake or hoe to loosen the soil
When to Start: The best time to plant oats is in early spring when the soil is cool but not frozen. If you live in a warmer climate, you can also plant them in late summer or early fall.
Choosing a Spot: Oats love sunlight, so pick a spot that gets plenty of it—at least 6 hours a day. The area doesn’t have to be perfect, but make sure it’s free of weeds and debris. If planting in pots, ensure they’re large enough (about 12 inches deep).
Soil Prep: Loosen the soil with a rake or hoe. You don’t need fancy soil—just regular garden soil will do. Oats are pretty hardy, so they’ll grow in most types of soil, as long as it’s not too waterlogged.
Planting
How to Plant Your Oats
Planting oats is straightforward. Follow these simple steps:
- Spread the Seeds:
- Scatter the oat seeds evenly over the soil. Think of it like sprinkling sugar on pancakes—you want an even layer.
- For a small garden, a handful of seeds should cover about 1 square meter.
- Cover Lightly:
- Use your rake or hands to lightly cover the seeds with about ½ inch (1 cm) of soil. Don’t bury them too deep; they need light to sprout.
- Water Gently:
- After planting, give the area a gentle watering. The soil should be moist but not soggy. Imagine dampening a sponge without making it drip.
- Space Them Out:
- If you’re planting in rows, leave about 6 inches between rows to give the oats room to grow. If you’re scattering seeds, just make sure they’re not clumped together.
Tip: If birds are a problem in your area, you might want to cover the area with some netting until the seeds sprout.
Growing Care


Taking Care of Your Growing Oats
Once your oats are in the ground, here’s how to keep them happy and healthy:
Watering:
- Water them regularly, especially during dry spells. Aim to keep the soil consistently moist, like a wrung-out sponge.
- Once the oats are established, you can water less frequently but more deeply. This encourages strong root growth.
Weeding:
- Keep the area around your oats weed-free, especially when they’re young. Weeds compete for nutrients and water.
- As the oats grow taller, they’ll naturally shade out many weeds.
Fertilizing:
- Oats don’t need much fertilizer. If your soil is poor, you can add a bit of general-purpose fertilizer when planting. Otherwise, they’ll do fine without it.
Pests and Problems:
- Oats are pretty tough, but watch out for slugs and snails. If you notice holes in the leaves, try setting up some traps or barriers.
- Birds might nibble at the seeds or young shoots. If this happens, use some netting to protect your plants.
Growth Stages:
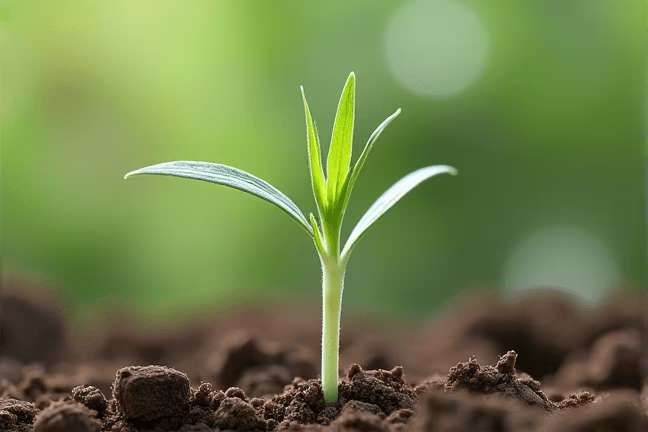
- Your oats will start sprouting in about 7-10 days. They’ll grow quickly, reaching about knee-high in a few weeks.
- In about 2-3 months, they’ll start producing seed heads. These are what you’ll eventually harvest.
Harvesting


When and How to Harvest Your Oats
Knowing when to harvest your oats is key to getting the best results.
Signs They’re Ready:
- The oat plants will be golden brown and dry, usually about 3-4 months after planting.
- The seed heads will be full and drooping slightly. The seeds inside should feel firm.
How to Harvest:
- Cut the Stalks:
- Use scissors or garden shears to cut the oat stalks just above the ground. Bundle a few stalks together into small bunches.
- Dry Them Out:
- Hang the bundles upside down in a warm, dry place for a couple of weeks. This helps the seeds finish drying.
- Threshing:
- Once fully dry, take each bundle and gently beat it against a clean surface or inside a bag. This will release the oat seeds from the husks.
- Winnowing:
- To separate the seeds from the chaff (the leftover bits), pour the seeds from one container to another in a light breeze. The lighter chaff will blow away, leaving you with clean oats.
Storage:
- Store your harvested oats in a cool, dry place. They can last for several months if kept properly.
Plant Care FAQ
Q: Can I grow oats in containers?
A: Yes, you can! Just make sure the container is large enough (at least 12 inches deep) and has good drainage. However, oats prefer more space, so they’ll do better in larger pots or directly in the ground.
Q: Do oats need a lot of water?
A: Not really. Oats are fairly drought-tolerant once established, but they do need consistent moisture when they’re young. Aim to water when the top inch of soil feels dry.
Q: What if my oats are growing too tall and falling over?
A: If your oats are getting too tall and unstable, you can support them with stakes or twine. Simply tie the plants loosely to the stakes to prevent them from falling.
Q: Can I eat the oat seeds right after harvesting?
A: Technically yes, but they’ll taste better if you toast or cook them first. Raw oats can be chewy and bland.
Q: My oat plants look yellow. What’s wrong?
A: Yellowing leaves can mean too much water, not enough nutrients, or a pest problem. Check your watering schedule and make sure the soil isn’t waterlogged. Adding a bit of fertilizer might help too.
Pro Tips
1. Companion Planting:
Oats work well as a cover crop. Plant them alongside vegetables to help prevent soil erosion and improve soil health.2. Green Manure:
If you’re not interested in harvesting the seeds, you can till the oat plants back into the soil when they’re still green. This adds nutrients and organic matter to the soil.3. Quick Cover Crop:
Oats grow fast, making them ideal for planting between seasons. They can help suppress weeds and enrich the soil before you plant your next crop.4. Attract Beneficial Bugs:
Oat plants attract beneficial insects like ladybugs, which can help control pests in your garden.5. Easy DIY Bird Feed:
If you don’t want to process the oats yourself, let the seed heads dry completely and then scatter them for wild birds. They’ll love you for it!6. Experiment with Different Uses:
Besides eating the grains, you can use oat straw (the dried stems) in teas or herbal remedies. It’s said to have calming properties.7. Watch the Weather:
If heavy rain is forecasted right before your oats are ready to harvest, consider cutting them early and letting them dry indoors to avoid mold or rot.