
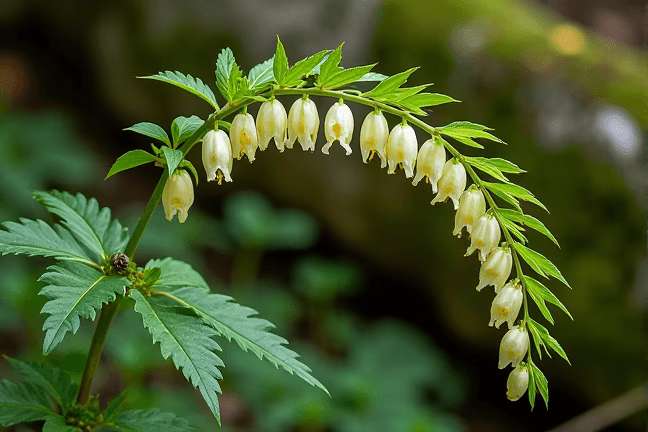
Gall-of-the-earth
Prenanthes trifoliolata
Grow Time
90-120 days
Sunlight
Partial Shade
Watering
Every 5-7 days
Toxicity
Non-toxic
How to plant Gall-of-the-earth: Step-by-Step Guide
Growing Guide
Preparation
What You'll Need:

Gall-of-the-earth seeds or young plants (you can find them at specialty nurseries or online)

A pot or space in your garden with well-draining soil

Basic gardening tools like a small spade, watering can, and gloves
- Compost or organic matter (optional but recommended for extra nutrients)
When to Start:
Gall-of-the-earth prefers cooler weather, so the best time to plant is either early spring or late summer/early fall. If you're starting from seeds, it's better to sow them indoors about 6-8 weeks before the last frost date.
Choosing the Right Spot:
This plant thrives in partial shade to full sun. It doesn't need scorching sunlight all day, but it does appreciate some morning or afternoon rays. If you're planting in pots, make sure they have drainage holes to prevent waterlogging.
Preparing the Soil:
The soil should be loose and well-draining. If your soil feels too heavy or clay-like, mix in some sand or compost to lighten it up. Gall-of-the-earth isn’t too picky, but good drainage will keep its roots happy.
Planting
If Using Seeds:
- Fill small pots or seed trays with moist potting soil.
- Sprinkle the seeds on top of the soil – don't bury them too deep; just press them lightly into the surface.
- Water gently using a spray bottle to avoid washing the seeds away.
- Keep the soil consistently moist but not soggy.
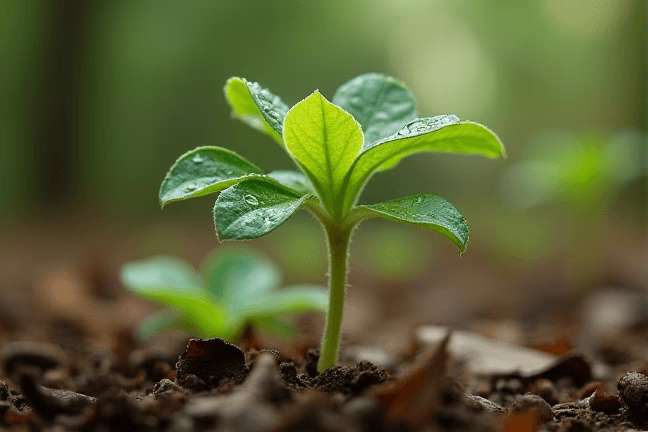
- Place the pots in a bright spot, but out of direct sunlight until the seeds sprout, which usually takes 1-2 weeks.
- Once the seedlings have grown a few inches tall and have a couple of leaves, they're ready to transplant.
If Using Young Plants:
- Dig a hole slightly larger than the root ball of the plant.
- Gently place the plant in the hole, making sure the top of the root ball is level with the soil surface.
- Backfill the hole with soil and pat it down gently around the base of the plant.
- Water thoroughly after planting to help the roots settle in.
Spacing:
If you’re planting multiple Gall-of-the-earth plants, leave about 12-18 inches between them. This gives each plant enough room to grow without competing for nutrients.
Growing Care


Watering:
- Gall-of-the-earth likes moist soil but doesn't want to sit in water. Water when the top inch of soil feels dry.
- During hot, dry spells, you may need to water every 2-3 days. Otherwise, once a week should suffice.
Sunlight & Shade:
- Aim for a balance of sun and shade. Morning sunlight with afternoon shade works perfectly.
- If the plant starts looking droopy or yellow, it might be getting too much sun or not enough water.
Fertilizing:
- You don’t need to fertilize often. Adding a layer of compost around the base of the plant in early spring is usually enough to give it a nutrient boost.
- If you prefer liquid fertilizer, apply a diluted solution once a month during the growing season.
Pruning:
- You won’t need to prune much, but removing any dead or yellowing leaves helps the plant focus its energy on healthy growth.
- After flowering, you can trim back spent blooms to encourage new growth or leave them if you want the plant to reseed itself.
Harvesting
When to Harvest:
Gall-of-the-earth is mostly grown for its ornamental value, but its leaves were historically used in traditional medicine. If you’re harvesting leaves:
- Pick them in the early morning when their oils are most potent.
- Use clean scissors or your fingers to snip off a few leaves as needed.
How to Harvest:
- Only take a few leaves at a time, so the plant can continue growing.
- Avoid harvesting more than one-third of the plant at once to ensure it stays healthy.
Storage:
- Fresh leaves can be used immediately or stored in the refrigerator for a few days.
- If you want to dry the leaves for later use, hang them upside down in a cool, dry place, then store them in an airtight container.
Flowers:
- The flowers are also beautiful in bouquets! Cut them when they’re fully open and place them in water to enjoy indoors.
Plant Care FAQ
Q: Why are my plant’s leaves turning yellow?
A: Yellow leaves could mean overwatering or poor drainage. Make sure the soil isn’t staying soggy. Let it dry out a bit between waterings.
Q: Can I grow Gall-of-the-earth in containers?
A: Absolutely! Just make sure the pot has good drainage holes. A 12-inch pot should be plenty big enough for one plant.
Q: Is Gall-of-the-earth safe around pets?
A: While it’s not commonly known to be toxic, it’s always best to keep pets away from any unfamiliar plants, especially if they tend to nibble on greens.
Q: Do I need to deadhead the flowers?
A: Deadheading isn’t necessary, but it can help the plant look tidier and may encourage more blooms. On the other hand, leaving the flowers can allow the plant to self-seed for next year.
Q: How do I protect it from pests?
A: Gall-of-the-earth is pretty resilient, but slugs or aphids might occasionally visit. Handpick slugs or use a natural slug deterrent like crushed eggshells. For aphids, a gentle spray of water or insecticidal soap will do the trick.
Pro Tips
1. Companion Planting
Pair Gall-of-the-earth with other shade-loving plants like hostas or ferns to create a lush, layered garden bed.2. Natural Self-Seeding
If you let the flowers go to seed, Gall-of-the-earth may naturally reseed itself, giving you new plants next year without any extra effort.3. Mulching Magic
Add a light layer of mulch around the base of the plant to retain moisture and keep weeds down, but don’t pile it against the stem.4. Early Spring Boost
Give your plant a little "wake-up call" in early spring by scratching in some compost or slow-release fertilizer around the base.5. Experiment with Placement
Try planting Gall-of-the-earth in different light conditions to see where it thrives best in your garden – it can adapt to both sun and shade!6. Divide and Conquer
Every few years, you can divide mature plants in the spring to create new ones. This keeps the original plant healthy and gives you free plants!7. Wildlife Friendly
The flowers attract pollinators like bees and butterflies, so it’s a great addition if you’re trying to create a pollinator-friendly garden.