
Greater Burdock
Arctium lappa
Grow Time
365-730 days
Sunlight
Full Sun to Partial Shade
Watering
Every 5-7 days
Toxicity
Non-toxic
How to plant Greater Burdock: Step-by-Step Guide
Growing Guide
Preparation
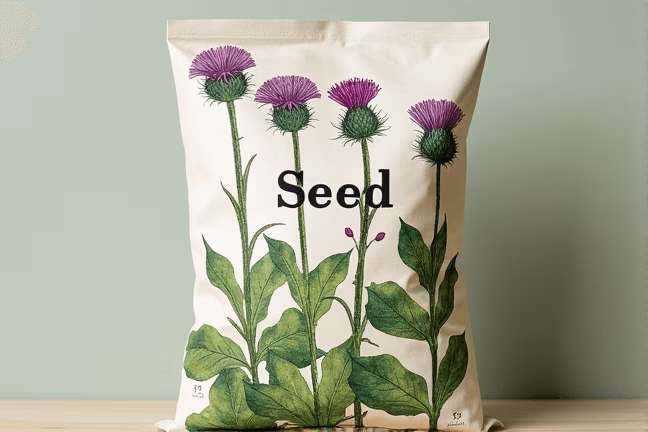
Choosing Greater Burdock Seeds
Hello, gardening friend! Greater Burdock is an easy-to-grow plant that thrives in many conditions. You can find its seeds at garden stores or online. Look for fresh seeds as they tend to germinate better.
Tip: If you're new to growing burdock, start with a small patch to get the hang of it.
Timing
Burdock grows best when started in early spring, right after the last frost. It prefers cooler weather and will grow steadily through the summer months.
Tools and Materials

Greater Burdock seeds

A garden bed or large pot (at least 2 feet deep)

Rich, well-draining soil

Watering can or hose
- Compost or organic matter
- Sunny to partially shaded location
Tip: Burdock has long roots, so make sure your pots are deep enough if you’re container gardening.
Planting
- Prepare the Soil: Start by loosening the soil to about 12 inches deep. Mix in some compost or well-rotted manure to enrich the soil.
- Sow the Seeds:
- Create shallow furrows about 1/4 inch deep.
- Space the seeds about 1 inch apart in rows that are 18-24 inches apart.
- Cover lightly with soil and water gently.
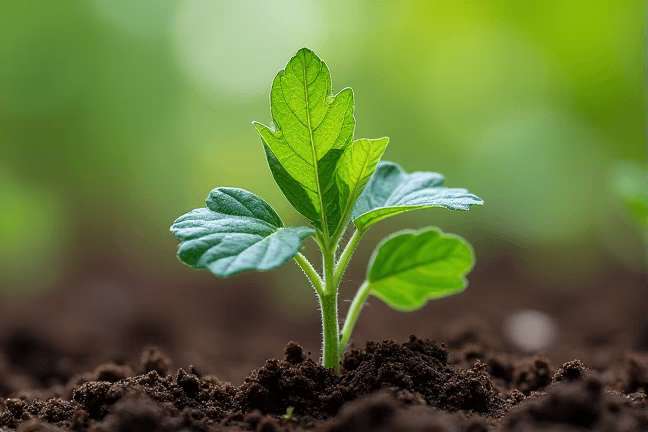
- Watering: Keep the soil moist but not waterlogged. You should see sprouts within 1-2 weeks.
Tip: Once seedlings are about 2 inches tall, thin them out so they’re about 6 inches apart. This gives each plant enough room to grow big roots.
Growing Care


Sunlight Requirements
Greater Burdock enjoys full sun to partial shade. Aim for at least 4-6 hours of sunlight daily. If you live in a hot climate, some afternoon shade can be beneficial.
Watering Method
- Water deeply once or twice a week, depending on rainfall.
- The soil should be consistently moist but never soggy.
- During dry spells, increase watering frequency.
Tip: Mulching around the base of the plants helps retain moisture and keeps weeds down.
Fertilizing Tips
- Use a balanced fertilizer every 4-6 weeks.
- Alternatively, side-dress with compost or well-rotted manure mid-season.
Supporting Your Plants
Burdock doesn’t require staking or support as it grows upright naturally. However, ensure there’s enough space between plants to prevent overcrowding.
Tip: Regularly check for pests like aphids. A strong spray of water usually takes care of them.
Harvesting


When to Harvest
You can start harvesting Greater Burdock roots in late fall or early spring of the second year. Roots are tender and flavorful when the plant is about 6-8 months old.
How to Harvest
- Loosen the soil around the plant using a garden fork.
- Gently pull up the root, being careful not to break it.
- Brush off excess soil and trim the leaves.
Tip: For continuous harvest, sow seeds every few weeks to have a staggered supply of young roots.
Storage
- Fresh roots can be stored in the refrigerator for up to a week.
- For longer storage, wash and slice the roots, then freeze or dry them.
Tip: Young leaves and stems can also be harvested and cooked like other leafy greens.
Plant Care FAQ
1. Yellow Leaves
Cause: Overwatering or poor drainage.
Solution: Ensure the soil is well-draining and reduce watering frequency. Add sand or perlite to improve drainage if necessary.
2. Small Roots
Cause: Poor soil or overcrowding.
Solution: Enrich the soil with compost and ensure proper spacing between plants. Thin out seedlings early.
3. Slow Growth
Cause: Lack of nutrients or insufficient sunlight.
Solution: Apply a balanced fertilizer and ensure the plants get enough sunlight. Consider moving potted plants to a sunnier spot.
4. Pests
Cause: Aphids or other common garden pests.
Solution: Spray plants with a strong jet of water or use insecticidal soap. Encourage beneficial insects like ladybugs.
5. Bolting (Flowering Too Early)
Cause: Stress from temperature fluctuations or inconsistent watering.
Solution: Maintain consistent watering and mulch to regulate soil temperature.
Pro Tips
1. Companion Planting
Plant burdock near beans or peas; they help fix nitrogen in the soil which benefits burdock's growth.2. Soil Preparation
Greater Burdock loves rich soil. Before planting, mix in plenty of organic matter to give it a nutrient boost.3. Staggered Planting
Sow seeds every few weeks for a continuous harvest of young, tender roots.4. Leafy Greens
Don’t forget that young burdock leaves and stems are edible too! They can be cooked similarly to spinach or Swiss chard.5. Natural Medicine
Burdock roots have been used traditionally for their health benefits. Research ways to incorporate them into teas or soups.6. Weed Control
Burdock can self-seed prolifically. Remove flower heads before they set seed to prevent unwanted spread.7. Seasonal Care
In colder climates, mulch heavily around the base of the plants in late fall to protect the roots over winter.