
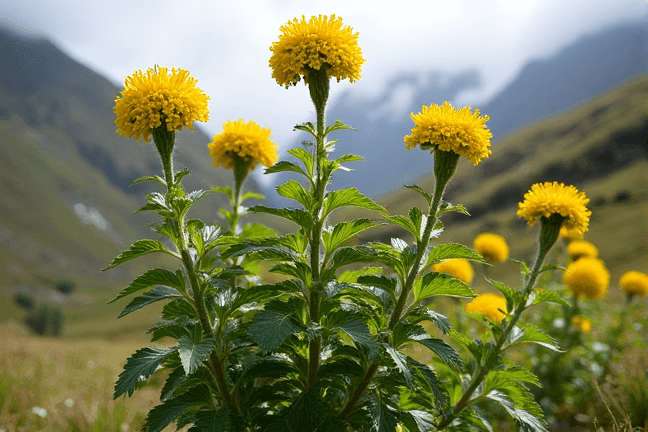
Lloense Tree Groundsel
Dendrophorbium lloense
Grow Time
180-240 days
Sunlight
Partial Shade to Full Sun
Watering
Every 7-10 days
Toxicity
Non-toxic
How to plant Lloense Tree Groundsel: Step-by-Step Guide
Growing Guide
Preparation
What you'll need:

Seeds or young Lloense Tree Groundsel plants (you might need to source these from a specialized nursery, as this plant is less common)

A pot with good drainage (at least 12 inches wide) or a well-prepared garden bed

Soil that drains well—something sandy or loamy works best. If your soil feels too heavy, mix in some sand or perlite to loosen it up.

Some basic fertilizer (a general-purpose one will do)
When to start:
The Lloense Tree Groundsel prefers warm climates and should be planted in spring after the last frost has passed. This gives it enough time to establish before cooler weather arrives.
Choosing a spot:
This plant loves partial shade. While it can tolerate some direct sunlight, especially in the morning, it's happiest when it gets dappled light or shade during the hottest part of the day. If you're planting indoors, a bright spot near a window with filtered light will work well.
Tip: If you live in an area that gets very cold winters, consider keeping your Lloense Tree Groundsel in a container so you can bring it inside when temperatures drop.
Planting
If starting with seeds:
- Fill small pots or seed trays with a well-draining soil mix.
- Sprinkle the seeds lightly on top of the soil and cover them with just a thin layer of soil—don’t bury them too deep.
- Water gently to keep the soil moist but not soggy.
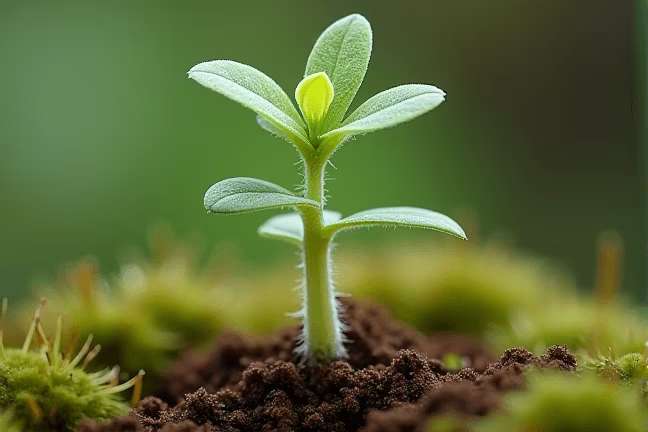
- Place the pots in a warm spot with indirect light. Germination can take a few weeks, so be patient!
- Once the seedlings have grown a few sets of leaves, you can transplant them into larger pots or directly into your garden.
If using young plants:
- Dig a hole slightly larger than the root ball of the young plant.
- Gently place the plant in the hole, making sure the top of the root ball is level with the surrounding soil.
- Backfill with soil, pressing lightly to remove air pockets.
- Water thoroughly after planting to help the roots settle in.
Spacing tip:
If you're planting more than one Lloense Tree Groundsel, space them about 18-24 inches apart to give them room to grow.
Growing Care
Watering:
- The Lloense Tree Groundsel likes its soil to be consistently moist but not waterlogged. Check the soil regularly—if the top inch feels dry, it’s time to water.
- In hot weather, you may need to water every couple of days, but reduce watering if the weather cools down or if it rains.
Feeding:
- Feed your plant every 4-6 weeks with a balanced, all-purpose fertilizer. Be careful not to over-fertilize; too much can lead to leggy growth.
- During the growing season (spring and summer), you can increase the frequency slightly, but ease off in fall and winter when the plant isn’t growing as actively.
Light requirements:
- As mentioned earlier, this plant thrives in partial shade. If you notice the leaves looking scorched or yellowing, it might be getting too much direct sun.
- If you’re growing it indoors, make sure it gets plenty of bright, indirect light—near an east-facing window is ideal.
Pruning:
- You can prune the Lloense Tree Groundsel lightly to encourage bushier growth. Simply snip off any leggy or overly long stems.
- Remove any dead or yellowing leaves to keep the plant healthy and looking tidy.
Pest watch:
- Keep an eye out for common garden pests like aphids or spider mites. If you see any, gently rinse the leaves with water or use insecticidal soap to get rid of them.
Harvesting
Does the Lloense Tree Groundsel produce anything to harvest?
This plant is primarily grown for its attractive foliage rather than fruits or flowers, so there isn't much "harvesting" to do. However, if you’re growing it for ornamental purposes, you can enjoy its lush greenery throughout the growing season.
Pruning for shape:
Instead of harvesting, you’ll want to focus on pruning. Regularly trimming back unruly stems will help maintain a neat appearance and promote denser growth. You can cut back the plant by about a third at the end of the growing season to prepare it for the next year.
Propagating new plants:
If you'd like more Lloense Tree Groundsels, you can propagate them through stem cuttings:
- Cut a healthy stem about 4-6 inches long.
- Remove the lower leaves and place the cutting in a glass of water or directly into moist soil.
- Keep it in a bright spot with indirect light, and once roots develop (which could take a few weeks), you can plant it in its own pot or in the garden.
Plant Care FAQ
Q: My Lloense Tree Groundsel’s leaves are turning yellow. What’s wrong?
A: Yellowing leaves usually mean overwatering or poor drainage. Make sure the soil is draining properly and that you’re not watering too frequently. If the soil feels soggy, let it dry out a bit before watering again.
Q: Can I grow this plant indoors?
A: Yes, absolutely! As long as it gets bright, indirect light, the Lloense Tree Groundsel can thrive indoors. Just be mindful of its watering needs and ensure the pot has good drainage.
Q: How fast does this plant grow?
A: It’s a moderately fast grower, especially when given the right conditions—partial shade, consistent moisture, and regular feeding. Expect noticeable growth within a few months.
Q: Is this plant safe around pets?
A: Like many plants in the Asteraceae family, the Lloense Tree Groundsel may cause mild stomach upset if ingested by pets. It’s best to keep it out of reach of curious animals.
Q: Can I grow this plant in full sun?
A: While it can tolerate some direct sun, particularly in the morning, prolonged exposure to harsh afternoon sunlight might scorch the leaves. Partial shade is preferable for optimal growth.
Pro Tips
1. Mulch it up
Adding a layer of mulch around your Lloense Tree Groundsel can help retain moisture and regulate soil temperature, especially during hot summer months.2. Rotate your indoor plant
If you’re growing this plant indoors, rotate the pot every week or so to ensure even light exposure. This will prevent it from leaning toward one side.3. Go easy on the fertilizer
Overfeeding can lead to weak growth. Stick to a light feeding schedule, especially during the slower-growing winter months.4. Companion planting
If planting outdoors, consider pairing it with other shade-loving plants like ferns or hostas to create a lush, layered look.5. Watch humidity levels
This plant enjoys moderate humidity. If you live in a dry climate, misting the leaves occasionally can help mimic its natural environment.6. Winter care
If temperatures drop below freezing, bring potted plants indoors or provide some protection, like a frost cloth, to prevent damage.7. Propagation patience
When propagating through cuttings, patience is key! Roots may take several weeks to form, so don’t give up if you don’t see progress right away.