
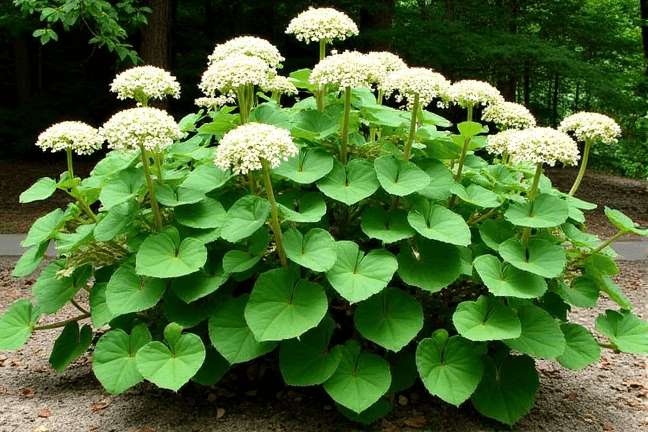
Shield-leaf Indian Bush
Psacalium peltatum
Grow Time
75-90 days
Sunlight
Partial Sun to Full Sun
Watering
Every 7-10 days
Toxicity
Non-toxic
How to plant Shield-leaf Indian Bush: Step-by-Step Guide
Growing Guide
Preparation
What you'll need:

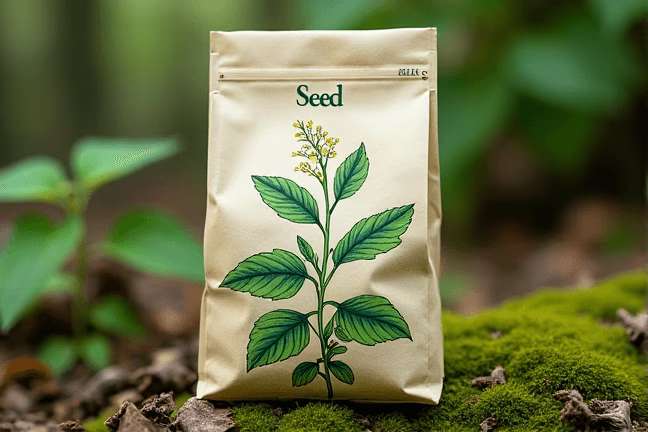
Shield-leaf Indian Bush seeds or young plants (check with local nurseries or online for availability)

A pot (at least 12 inches wide and deep) or a space in your garden

Well-draining soil mix (you can buy this ready-made or mix regular soil with sand or perlite to improve drainage)
Some compost or organic fertilizer to enrich the soil
- A sunny or partially shaded spot
When to start:
This plant prefers warmer temperatures, so spring is ideal. If you live in a region with mild winters, you can also plant it in early fall. It’s best to avoid extreme cold or frost.
Choosing the right location:
Shield-leaf Indian Bush enjoys sunlight but doesn’t like too much direct heat. A spot that gets morning sun and some shade in the afternoon works perfectly. If planting indoors, place it near a window that gets filtered light.
Tip: Make sure your pot has drainage holes if you're using one. This plant doesn’t like sitting in waterlogged soil.
Planting
If you have seeds:
- Fill your pot with well-draining soil, leaving about an inch from the top.
- Sprinkle the seeds on the surface of the soil, spacing them out evenly.
- Cover the seeds lightly with a thin layer of soil—just enough to barely hide them.
- Water gently, making sure the soil is moist but not soggy.
- Keep the pot in a warm, bright spot, but avoid direct harsh sunlight.
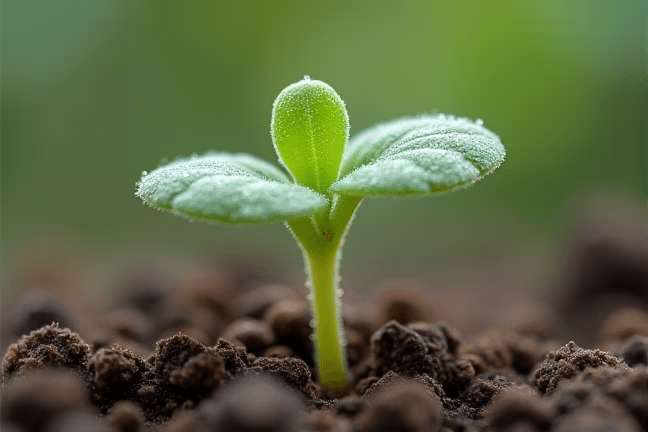
- Seeds should germinate in about 1-2 weeks. Once they sprout and grow a couple of leaves, thin them out so each plant has enough room to grow.
If you have young plants:
- Dig a hole slightly larger than the root ball of the plant.
- Place the plant in the hole, making sure the top of the root ball is level with the soil surface.
- Backfill the hole with soil and press down gently around the base of the plant.
- Water thoroughly after planting.
Planting tips:
- Space plants about 18-24 inches apart if planting in the ground to give them room to spread.
- If planting in pots, use one plant per large container to avoid overcrowding.
- After planting, add a light layer of mulch (like bark or straw) around the base to help retain moisture and regulate soil temperature.
Growing Care
Watering:
- Shield-leaf Indian Bush likes to stay moist but not overly wet. Check the soil every few days—if the top inch feels dry, it's time to water.
- Water deeply but less frequently to encourage the roots to grow deeper into the soil.
- Avoid watering the leaves directly; aim for the base of the plant to prevent fungal issues.
Feeding:
- Every 4-6 weeks, sprinkle some compost or apply a balanced liquid fertilizer around the base of the plant.
- Don’t over-fertilize—this plant doesn’t need heavy feeding, and too much can harm its growth.
Sunlight and temperature:
- This plant prefers warmth but not intense heat. Morning sun with some afternoon shade is ideal.
- If temperatures drop below 50°F (10°C), consider moving potted plants indoors or covering outdoor plants with a light cloth.
Pruning and maintenance:
- Trim back any dead or yellowing leaves regularly to keep the plant healthy and looking tidy.
- If the plant becomes too leggy, pinch back the tips to encourage bushier growth.
Tip: Shield-leaf Indian Bush can handle partial shade well, so don’t worry if it doesn’t get full sun all day.
Harvesting
Shield-leaf Indian Bush is mainly grown as an ornamental plant, so there isn’t a traditional "harvest" like with vegetables or fruits. However, you might want to collect its seeds or cuttings for propagation:
Collecting seeds:
- Wait until the flowers have faded and seed pods have formed.
- Once the pods are dry and brown, carefully break them open and collect the seeds.
- Store seeds in a cool, dry place for future planting.
Taking cuttings:
- Use clean scissors to snip off a healthy stem about 4-6 inches long.
- Remove the lower leaves and place the cutting in water or moist soil until roots develop.
- Once rooted, you can plant the cutting in its own pot or in the garden.
Tip: If you’re growing this plant for its lush foliage, you can “harvest” by simply enjoying its beauty in your garden or cutting stems for floral arrangements!
Plant Care FAQ
Q: Why are the leaves turning yellow?
A: Yellowing leaves could mean overwatering or poor drainage. Check the soil—if it’s soggy, let it dry out before watering again. Also, ensure your pot or planting area has good drainage.
Q: Can I grow Shield-leaf Indian Bush indoors?
A: Absolutely! As long as it gets enough filtered light, it can thrive indoors. Just make sure it’s not exposed to drafts or sudden temperature changes.
Q: How do I know if my plant is getting enough sunlight?
A: If the plant looks sparse or leggy, it may need more light. On the other hand, if the leaves look scorched or pale, it might be getting too much direct sun. Adjust accordingly.
Q: How fast does this plant grow?
A: Shield-leaf Indian Bush grows at a moderate pace. With proper care, you’ll see noticeable growth within a few months.
Q: Is this plant safe for pets?
A: It’s always a good idea to check with your vet, but generally, this plant isn’t known to be toxic to pets. Still, try to prevent your furry friends from chewing on it just in case.
Pro Tips
1. Boost humidity
If you notice the edges of the leaves browning, increase humidity by placing a tray of water near the plant or misting it occasionally.2. Companion planting
Pair Shield-leaf Indian Bush with other shade-tolerant plants like ferns or hostas for a lush, layered look in your garden.3. Natural pest deterrent
This plant is relatively pest-resistant, but you can further protect it by sprinkling cinnamon or coffee grounds around the base to deter ants and other critters.4. Foliage focus
To enhance leaf color and growth, use a fertilizer higher in nitrogen during the growing season.5. Seasonal care
In colder climates, bring potted plants indoors before the first frost. They’ll continue to thrive as houseplants with proper care.6. Propagation party
Share the love! Once you’ve successfully propagated cuttings, gift them to friends or expand your own collection.7. Mulch magic
Adding a layer of organic mulch not only helps retain moisture but also keeps weeds at bay, giving your plant more nutrients and space to grow.